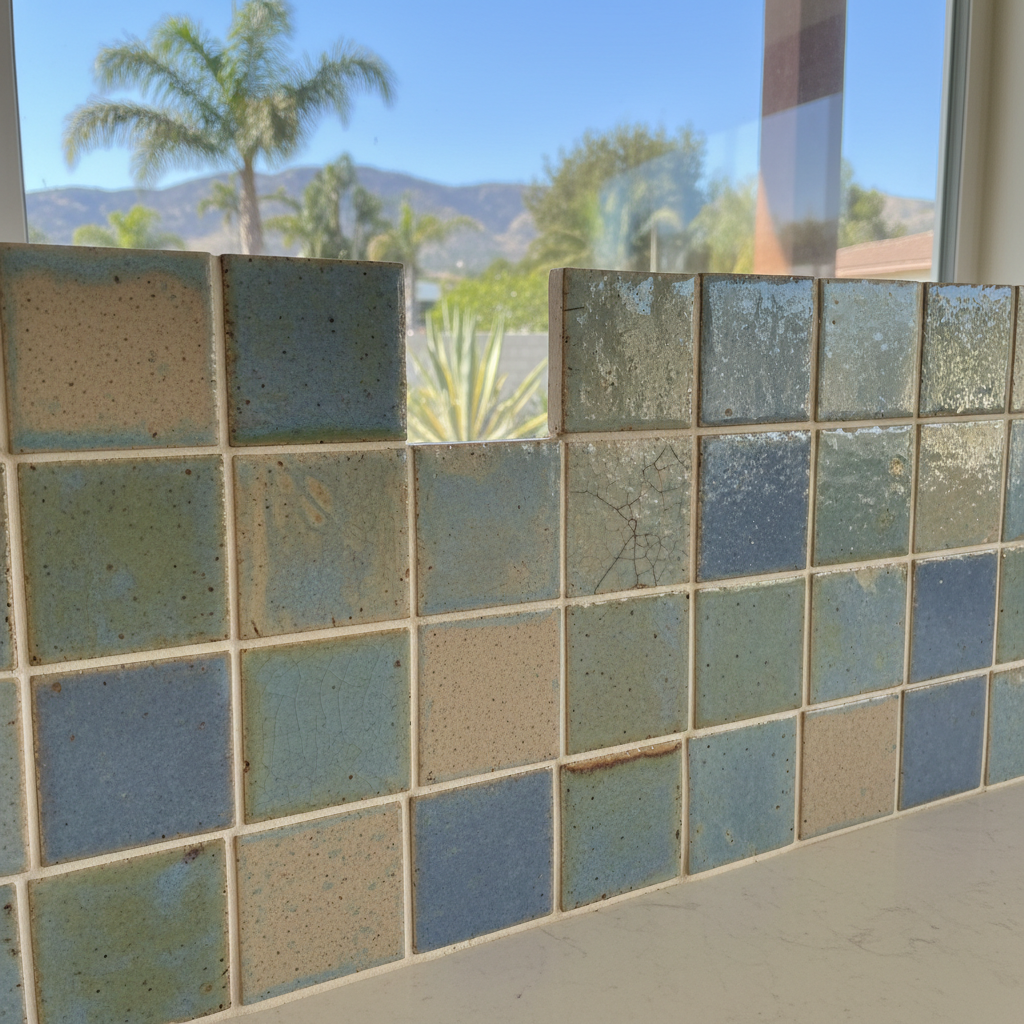
Thinking Backsplash? Here's What You Need to Know.
So, you're thinking about a new backsplash for your kitchen. Maybe that old painted wall is just driving you crazy, or you finally updated your countertops and now the backsplash looks… well, a little sad. A new backsplash can totally transform a kitchen, often for a lot less money and hassle than a full remodel. But before you jump in, let's talk about what's actually involved. And, more importantly, should you tackle this yourself or call in a pro?
Before You Start: Planning is Key
You wouldn't just start driving to Santa Barbara without knowing your destination, right? Same goes for a backsplash project. First off, really think about the look you're going for. Are we talking classic subway tile, some fancy mosaic, sleek glass, or something completely different? Your material choice affects everything, from the cost to how hard it will be to put up.
- Material Matters: Ceramic and porcelain tiles are usually the most forgiving for DIYers. They're pretty easy to cut and set. Natural stone (like marble or travertine) looks amazing, sure, but it's often softer, more porous, and a real pain to cut cleanly. Glass tiles can be tricky, too; they chip easily if you don't have the right blade, and you often need special thin-set mortar so the adhesive color doesn't show through the tile.
- Measure Twice, Buy Once: This isn't just an old saying; it's practically gospel. Measure your backsplash area super carefully. Get the length of each section and the height. Don't forget to factor in all those outlets and switches. Then, add 10-15% for waste. This is especially true if you're using a tile with a complex pattern or if you've never done this before. You'll inevitably have cuts that don't work out, or you might even break a tile. It's always better to have a few extra than to run out mid-job and have to wait for more to arrive.
- Tools of the Trade: You'll need some basic stuff. A notched trowel (the notch size depends on your tile), thin-set mortar, grout, spacers, a level, a sponge, and a couple of buckets. For cutting, a wet saw is your best friend, especially for anything other than small, soft tiles. You can rent one if buying isn't in the cards. Tile nippers are handy for those small, irregular cuts.
- Surface Prep: Your wall needs to be clean, dry, and flat. If you've got old wallpaper, rip it off. Any holes or uneven spots? Patch them up and sand them smooth. Sometimes, especially in older Ventura homes with plaster walls, you might even need to skim coat the area to get a truly flat surface. Trust me, any bumps or dips will absolutely show right through your new tiles.
The Installation: DIY or Call All Things Kitchen Solutions?
Here's where you make the big choice. Can you do this yourself, or should you call in a professional? Here’s my honest take on it:
- DIY Friendly: If you're reasonably handy, patient, and you're working with basic ceramic or porcelain subway tiles in a simple pattern (like a running bond), you can probably tackle this. It's not rocket science, but it does demand attention to detail. Setting the tiles, making sure they're level and evenly spaced, and then grouting — it's all totally doable. The biggest challenge for most DIYers, if I’m being honest, is consistent cuts and getting those corners and edges to look really clean.
- When to Call a Pro: If your design involves intricate patterns, tiny mosaic tiles, natural stone, or glass, I'd strongly suggest calling someone like us at All Things Kitchen Solutions. These materials are just harder to work with. And if your walls aren't perfectly plumb and square (which is super common in older homes around Midtown or the Pierpont area), a pro knows exactly how to adjust things to make it look right. Plus, if you're doing a full kitchen renovation and already have other trades in there, it often makes sense to just let the tile guy handle it. They'll get it done faster, cleaner, and with a professional finish that truly adds value. A bad tile job, you see, sticks out like a sore thumb.
During the Job: Take Your Time
Whether it's you or a pro, rushing is the enemy of a good backsplash. Lay out your first row dry to see how the cuts will fall. Start in the most visible area, usually the center of your longest wall, and work your way out from there. Use plenty of spacers to keep your grout lines consistent. Don't apply too much thin-set at once; it dries quickly, especially on a warm, dry Ventura day. Clean up any extra thin-set from the tile faces as you go. Once the thin-set cures (usually about 24 hours), you can grout. Grouting is messy, no doubt, but it's also very satisfying. Work in small sections, push the grout into the joints, and wipe off the excess with a damp sponge. And please, change your sponge water often!
After It's Done: The Finishing Touches
Once your grout has cured (check the product instructions, usually 24-72 hours), you'll want to seal it, especially if you used a porous grout or natural stone. This protects against stains and makes cleaning a whole lot easier. Use a good quality sealer and follow the directions. For the edges where the backsplash meets the countertop or cabinets, use a high-quality silicone caulk. This creates a flexible, waterproof seal. Make sure it's paintable if you need to match a wall color, or just pick a color that blends with your grout or countertop.
A new backsplash is a fantastic way to update your kitchen's look. Do your homework, decide if you're up for the challenge, and if not, don't hesitate to reach out to a local pro. You'll be enjoying your fresh new kitchen in no time.